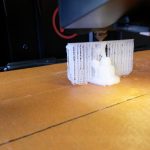
Extruder - This is a part of a 3D printer. This is the part that heats up to nearly melt the material so that the material can be worked with. A motor pushes the material through the hot part and out of a nozzle at the end.
Hot End - This is a part of a 3D printer. It is usually considered to be a part of the extruder. It is the part that actually heats up to melt the material. It is placed on a carriage that moves it around to place the material.
Filament - This is the material that is extruded.
Direct Drive Extruder - This is a type of extruder. In a direct drive extruder, the motor is placed on the carriage with the hot end. One drawback to a direct drive extruder is that it is heavier so the printer needs to move slower to achieve a nice print.
Bowden Extruder - This is a type of extruder. In a Bowden extruder, the motor is placed off of the carriage that the hot end is on. Filament is pushed through a tube to the carriage with the hot end. One benefit to the Bowden extruder is that the carriage is lighter so the printer can move faster and still achieve a nice print.
Print Bed/Build Plate - This is a part of a 3D printer. This is the part of the printer that the filament is extruded onto. On some of our printers, this is a heated plate with or without glass on top. On others, it is simply a glass plate.
Painters Tape - This may not seem like it, but this is an important part of 3D printing in buildIT. This material is the exact same as the one you would purchase for painting a room in your house. The tape is placed on the print bed so that the material has a rough surface to adhere to. If the tape wasn't there, the material would have a much harder time staying in place.
Layer Height - This is the amount the extruder moves vertically between each layer of the print. This number is usually a fraction of a millimeter for our printers. For more information, please see the post about layer height and resolution.
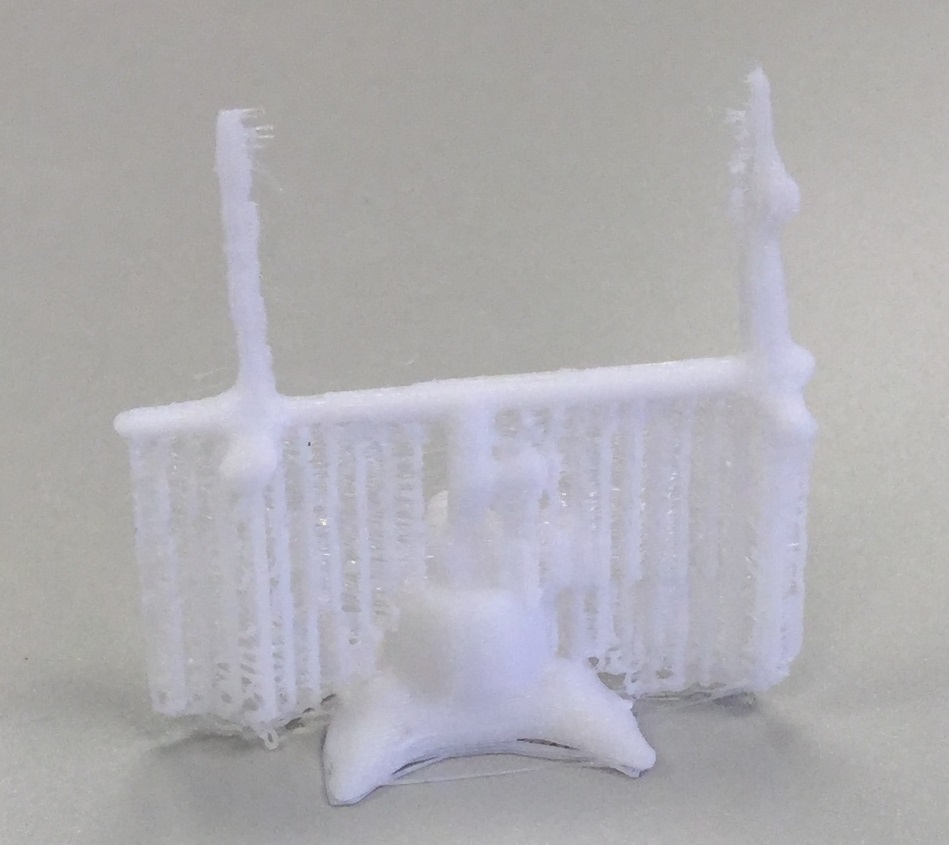
Warping - This is something that can happen to a print. In some prints, the edges of the part will curl up, away from the build plate. This can happen for a variety of reasons, including the part being too big or too thin. Usually, a part will need to be reprinted if the warping is severe enough. Some filament materials are more prone to warping than others.