Before We Begin
Understanding 3D Printing
For an object to be 3D print well, it is best if it is designed specifically for 3D printing. 3D models can be created as very intricate shapes, but it is important to keep in mind the limitations of the machines that will be used to realize the object, and design with those limitations in mind.
To fully understand the limitations, it is important to have a good understanding of the process of 3D printing. If you are a current affiliate of SDSU (student, faculty, staff), one way to learn is to attend an orientation session and then schedule a 3D print training, where we will teach you about the process of 3D printing in our space, as well as guide you through an example print. If you would like, you can schedule your training session for a small group of no more than 3 people.
If you are not an affiliate of SDSU or you are interested in learning more before your training session, you can read more about various aspects of 3D printing under the "Learn" tab at the top of the page.
3D Printing Do's and Don't's
DO: Consider The Tolerances of The Printers
Note: BuildIT uses millimeters exclusively. Please ensure that all models submitted to us are in millimeters for proper sizing.
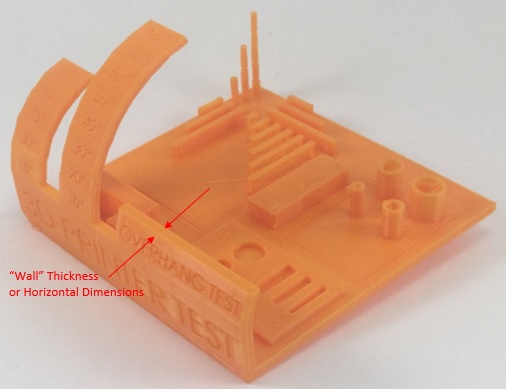
All of the 3D printers in BuildIT have a nozzle diameter of 0.4mm, which means that the minimum horizontal dimensions that can be placed is 0.4mm. To optimize printing time, vertical "walls" of a part can be made multiples of 0.4mm, but never less than 0.4mm. If the width of an extrusion is designed to be less than 0.4mm, the program we use to prepare parts for printing will ignore that portion of the object and no plastic will be placed.
When designing parts that should fit together, it is important to know that PLA plastic (the material we use) tends to shrink by about 0.5mm during the printing process. If you are designing a part to fit inside another part, the outer part hole should be oversized by about 0.5mm, and the peg that fits inside should be the desired size, knowing both will shrink slightly.
For Print In Place models:
When designing models that should be able to separate or move, each of our printers have a different tolerance for how close two parts can be before they fuse and are unable to move. A good general rule is to leave a minimum separation of 0.4mm between two parts that should be able to move independently of each other.
DO: Design Large Flat Sides
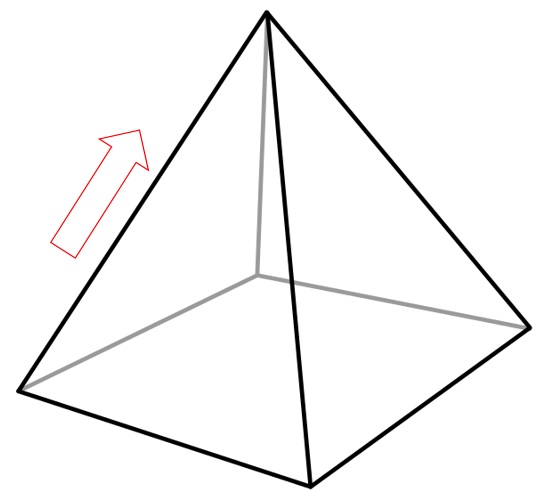
3D printing places plastic from a bottom layer to a top layer. This means that a large, flat side is best for 3D printing. Think of how it would be best to 3D print a pyramid - the square should be at the bottom and the layers should progress vertically towards the point of the pyramid.
DON’T: Design Your Object With Small or Curved Sides
If your object does not have a large, flat side that can be oriented as the bottom layer, the printer will need to use Supports (or, in extreme cases, Rafts) to have a successful print. For some parts, if the object is too small, adding supports still won't allow a successful print. For other parts, if they are too large or require too many supports, adding supports may put the part over our 3-hour time limit, meaning we would not be able to print it.
Supports can be thought of as scaffolding on a building - they are extra plastic that is placed by the printer to support the structure of the object as it is being built, but they are designed to be easily removable after the object is complete. Supports are automatically generated by the slicing software, so you don't need to worry about designing them, but you do need to worry about removing them.
For small or thin parts, the act of removing supports can break the part. For other parts, the supports can end up enclosed within the part, and it will be impossible to remove them without breaking the part open. These are important design considerations for when you design objects that might need supports.
You may be wondering how you can create complex shapes while minimizing supports, which leads to the next point...
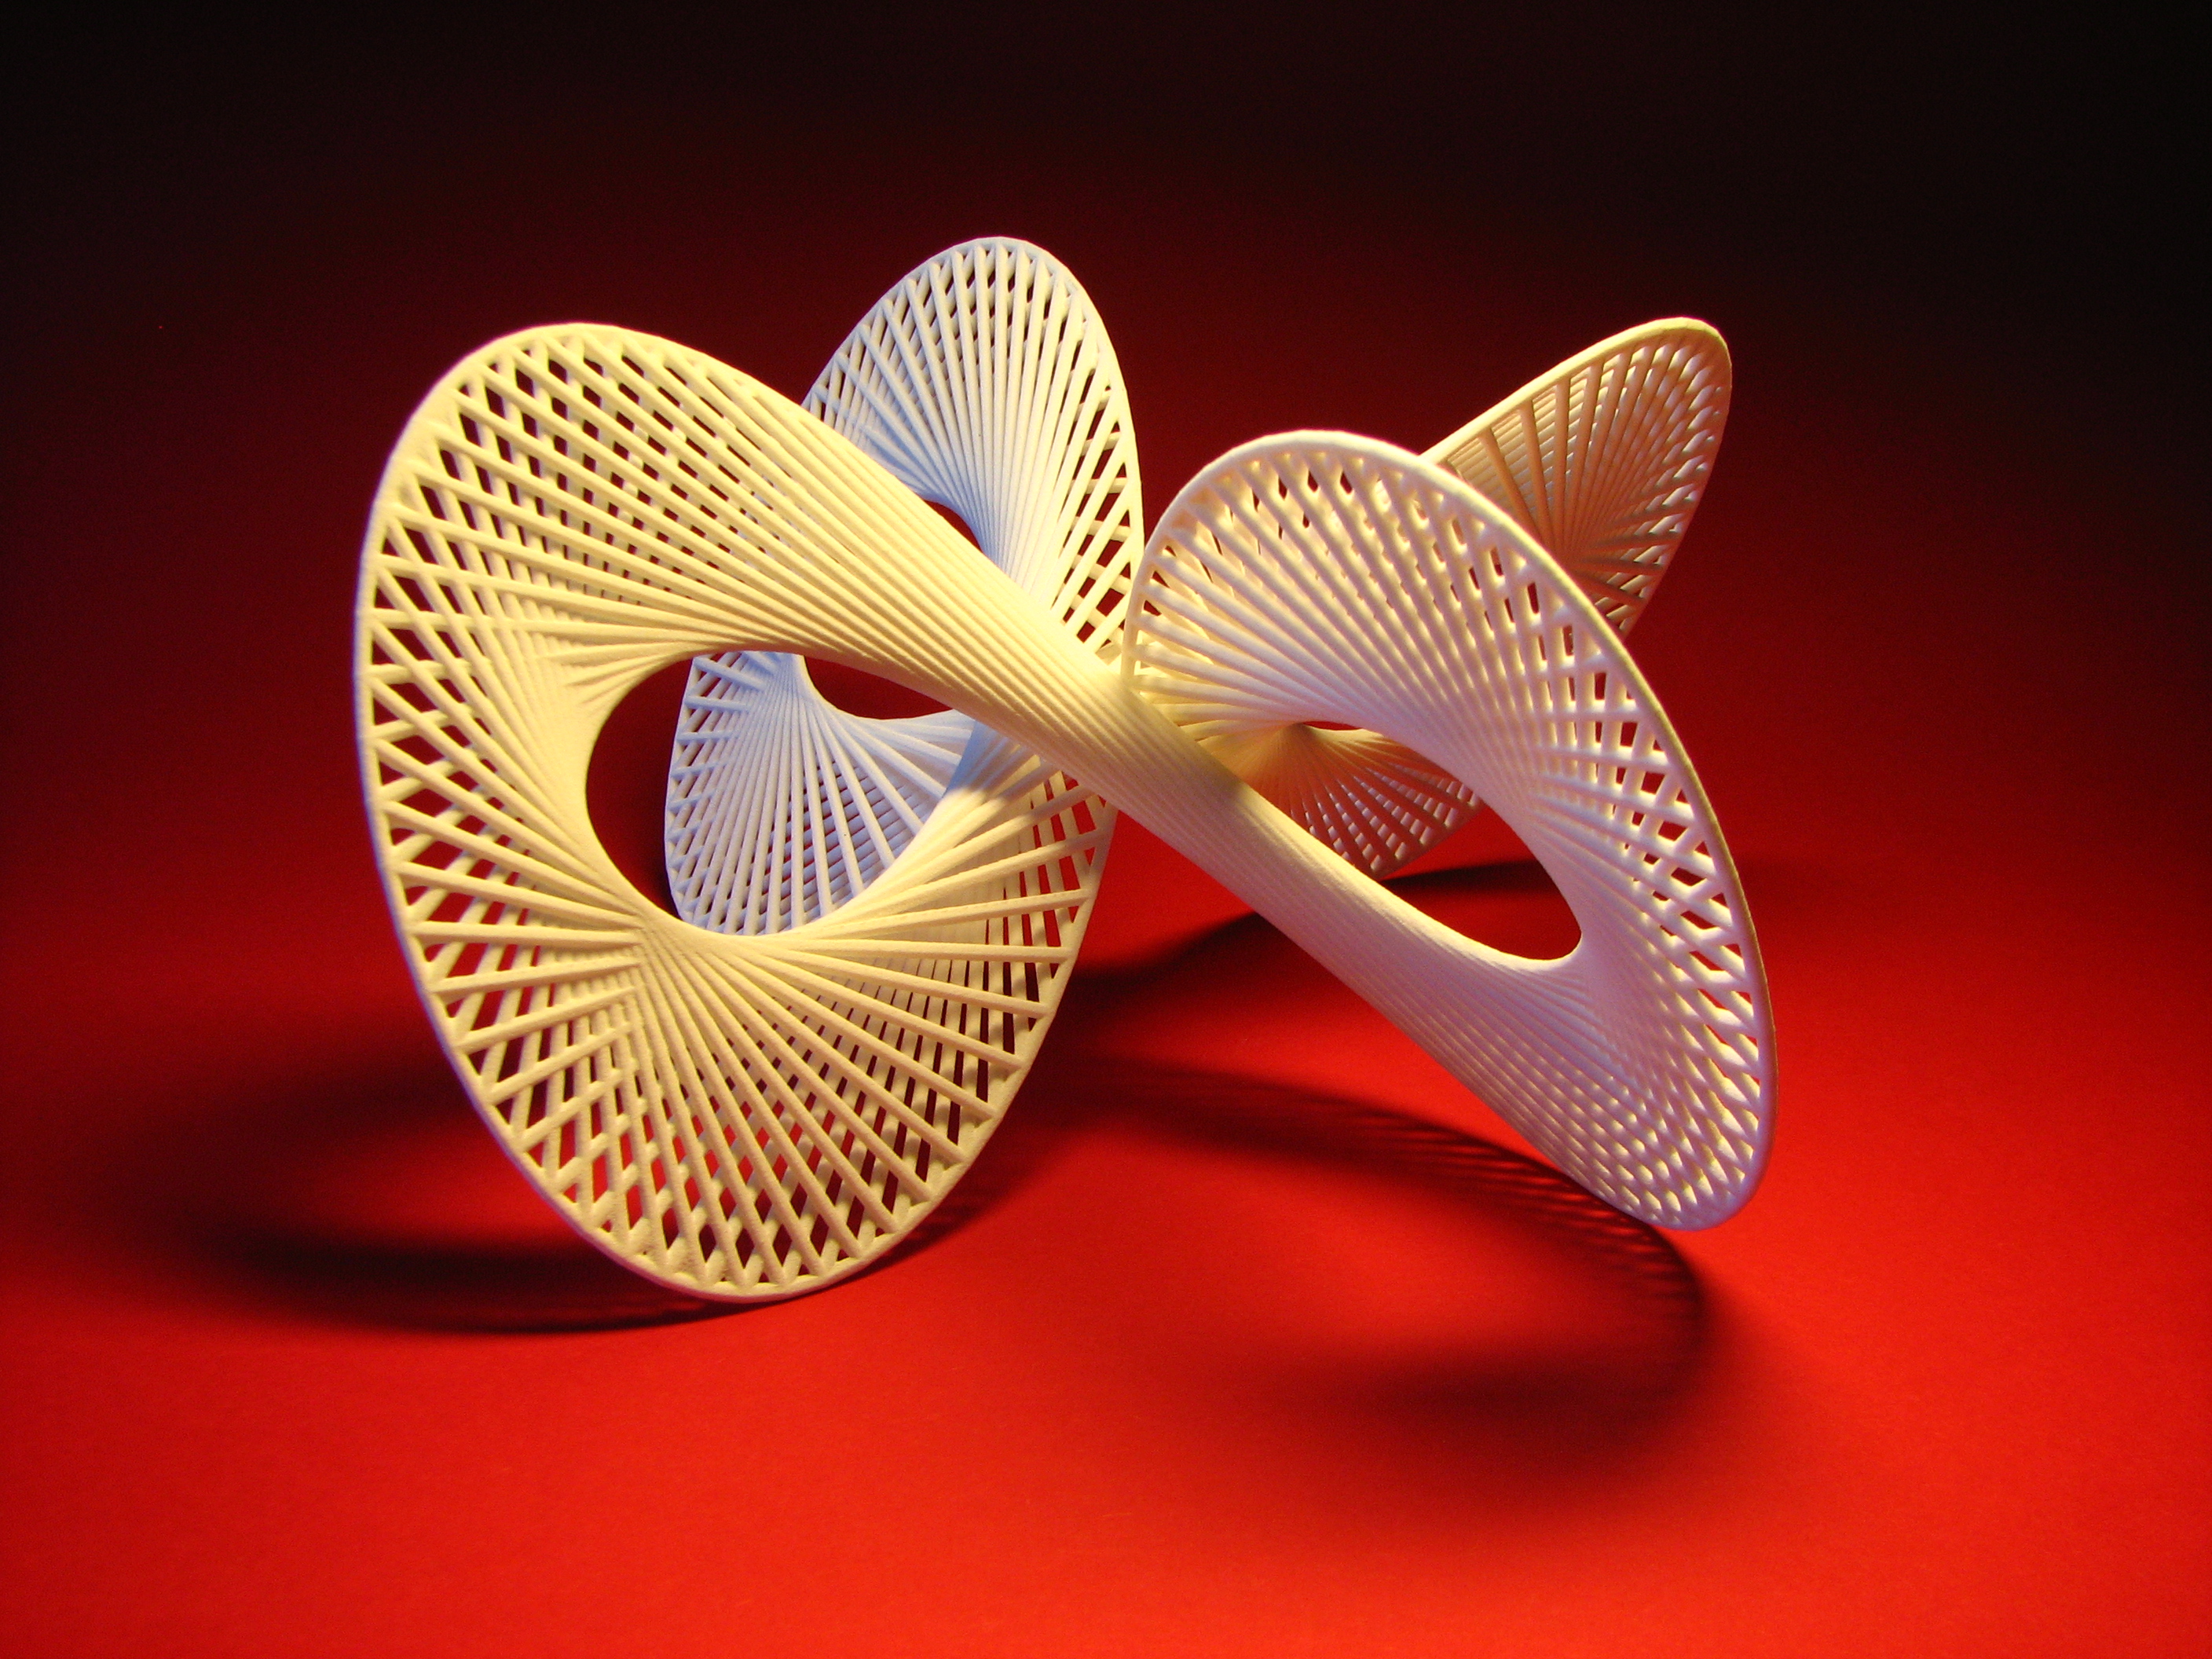
DO: Design Modular Parts
To minimize the need for supports, you can design your completed object as a group of parts that can be optimized for printing, then assembled into the complex shape that you actually need or want.
For example, the object at right was designed as 4 different flat pieces with clips that were all printed separately, then assembled into the complex shape that is shown. This is an excellent way to make completed objects that are too large for our printers or shapes that are too complex to print well. It does require extra work, but it's worth the effort for the better print quality you get in return.
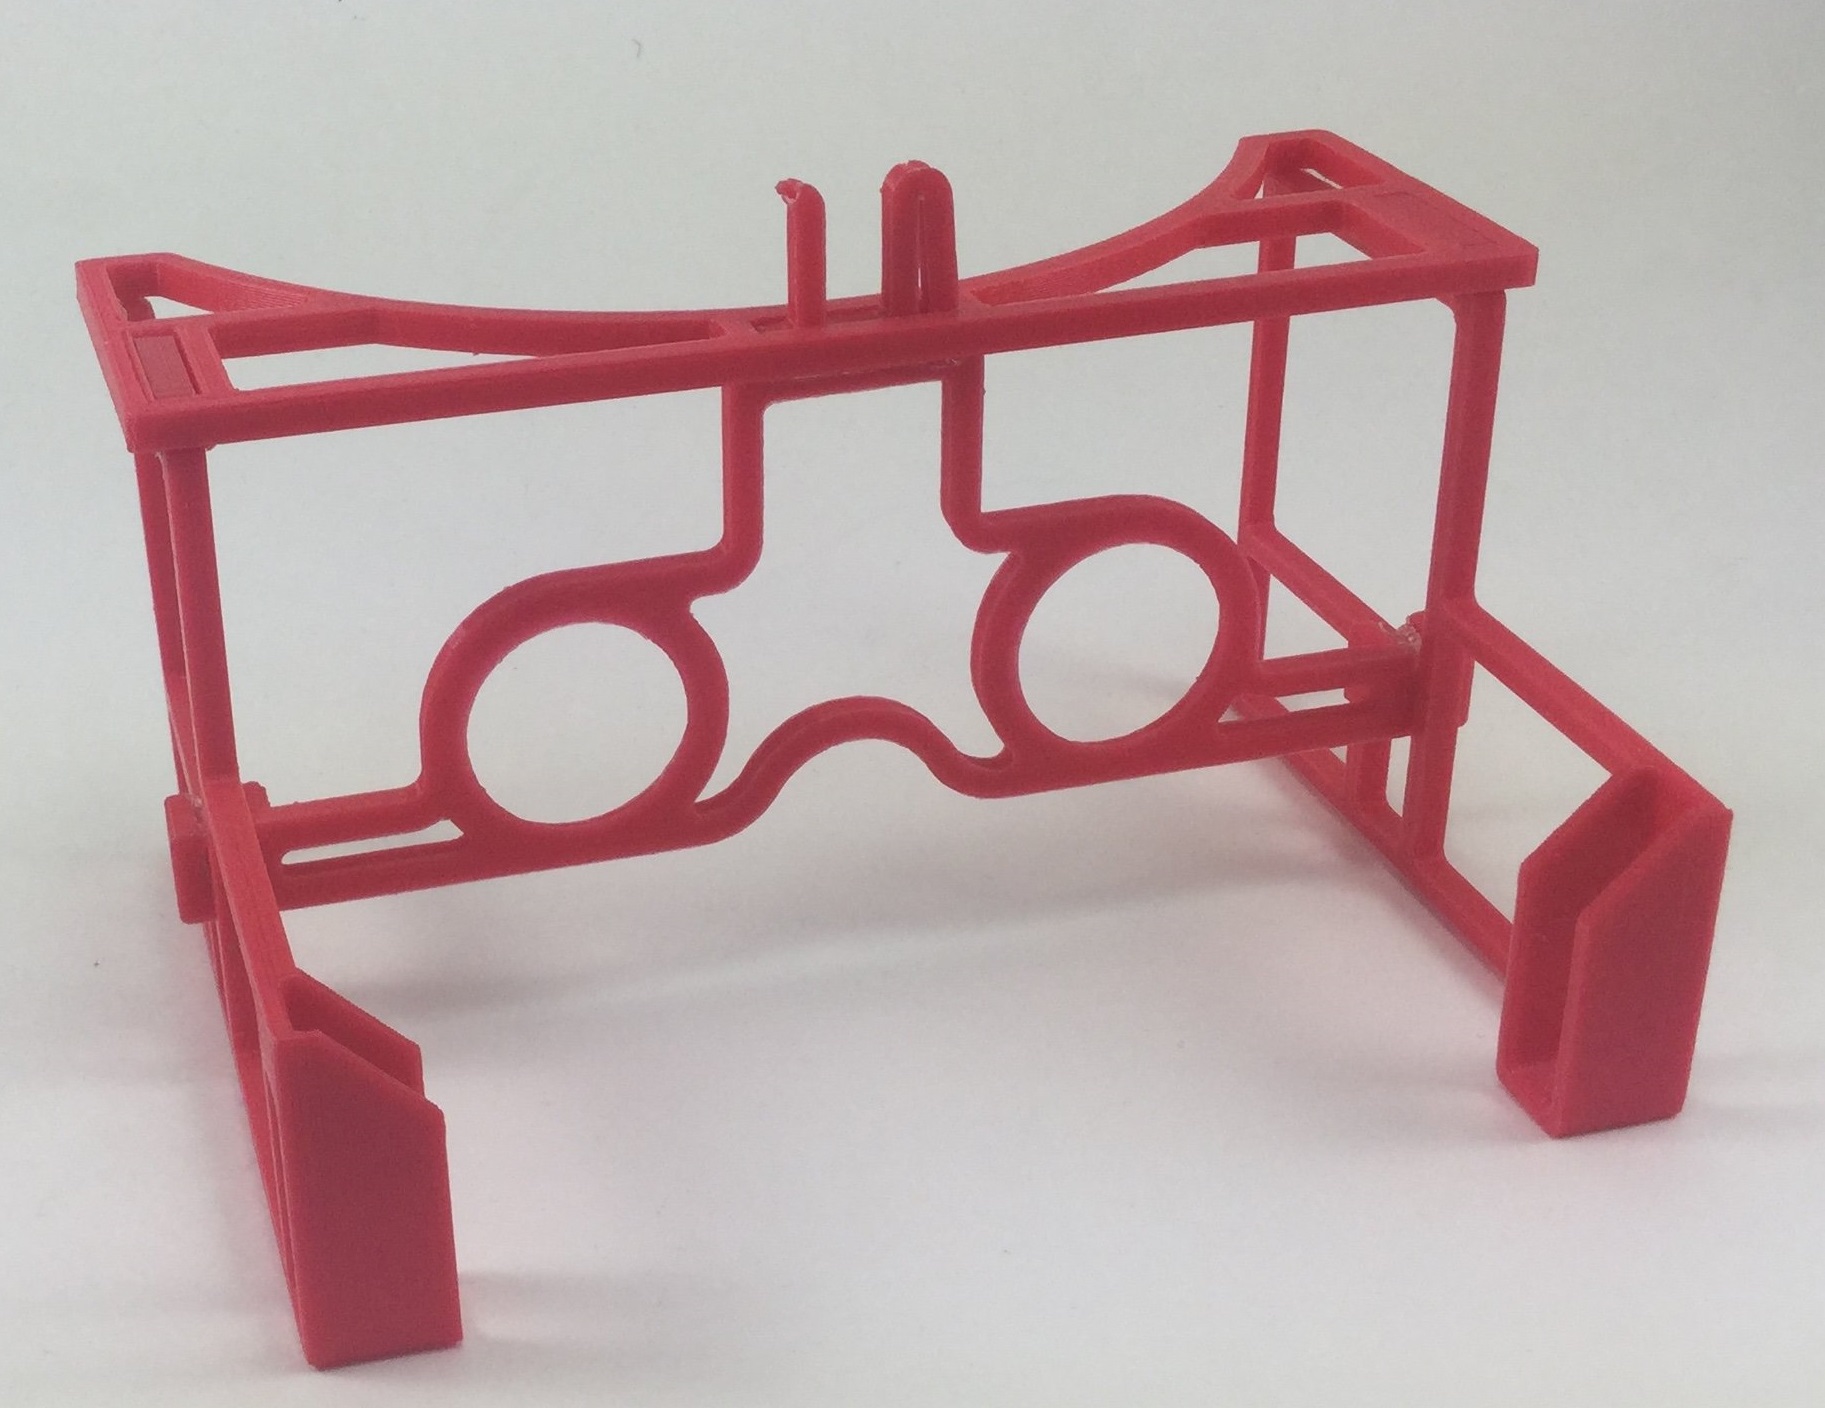
DO: Ask Yourself If 3D Printing Makes Sense
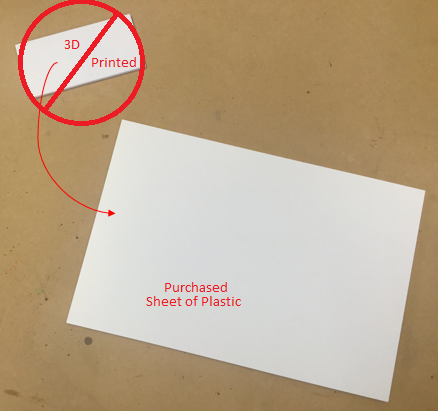
There are some shapes that are easy enough to fabricate using other means that it doesn't really make sense to 3D print them. A very common example of this is a sheet of plastic with a few holes in it - it would be better to purchase a sheet of acrylic or polycarbonate ("Lexan") plastic, cut it to the size necessary, and drill the holes (using a hand drill or drill press). If you are an SDSU affiliate (student, faculty, staff), we have a desktop CNC router called Carvey that you can receive training on after you complete orientation, then have Carvey drill holes in precise locations on wood or acrylic (no polycarbonate or metal) pieces.
Another consideration for whether your object needs to be 3D printed is how dense you want the infill to be. Infill is the percentage of the inside that is filled with plastic, where the other percentage is air. For example, 0% infill means fully hollow, and 100% infill means fully solid. We have found that infill percentages above 30% jam our 3D printers, so we are only able to print 0% infill to 30% infill parts. If you need or want your part to be denser or solid, you should look into other means of manufacturing a part. Please note that you cannot drill into 3D printed parts at arbitrary locations because chances are that it is hollow at the point you choose to drill.
It is also important to consider the purpose of your object and what materials should (or should not) be used. We print exclusively in PLA, which starts to soften and become pliable around 60 degrees Celsius, and is generally a brittle material (PLA stress test). If your object will be experiencing a lot of impact or force (PLA 40km/h impact test video), or will end up in or near heat (for example, from motors), this may not be the best material to use. If PLA won't work for your purposes, 3D printing can be good for prototypes and size checks, but may not be good for your finished object.
